- Published on
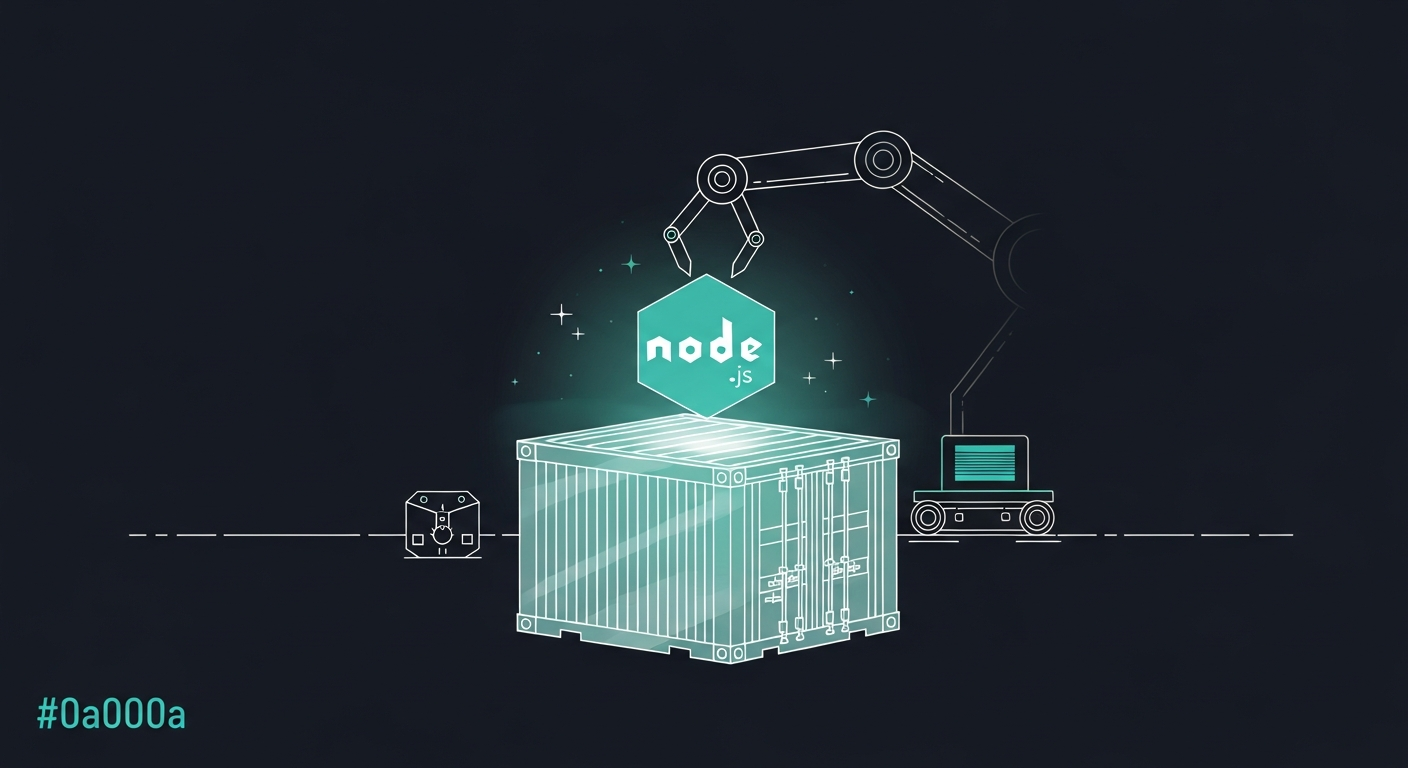
From Code on Your Laptop to a Universal Box: A Beginner's Guide to Dockerizing Node.js
- Authors

- Name
- Qudrat Ullah
As a software engineer, one of the first frustrating phrases you will hear is, "Well, it works on my machine!" This happens when code runs perfectly on your computer but fails on a colleague's laptop or a production server. The reason is usually a small difference in the environment, like a different Node.js version or a missing system library.
This is where Docker comes in. Think of Docker as a way to create a standard, universal box for your application. This box contains everything your code needs to run: the code itself, libraries, tools, and settings. You build this box once, and then you can ship it and run it anywhere, and it will always work the same way.
In this guide, we will take a simple Node.js web server and package it into one of these universal boxes using Docker.
What You Will Need
Before we start, make sure you have these two things installed on your computer:
- Node.js: To run our simple application locally first.
- Docker Desktop: The application that lets you build and run Docker containers.
That's it. Let's get started.
Step 1: Create a Simple Node.js App
First, we need an application to package. Let's create a very basic web server using Express, a popular Node.js framework.
Create a new folder for your project. Inside that folder, create two files: package.json and index.js.
package.json
This file tells Node.js about our project and its dependencies. The only dependency we need is express.
{
  "name": "simple-node-app",
  "version": "1.0.0",
  "description": "A simple Node.js app for Docker",
  "main": "index.js",
  "scripts": {
    "start": "node index.js"
  },
  "dependencies": {
    "express": "^4.18.2"
  }
}
index.js
This is our actual server code. It creates a web server that listens for requests and sends back a simple message.
const express = require('express');

const app = express();
const PORT = 3000;

app.get('/', (req, res) => {
  res.send('Hello from my Node.js app!');
});

app.listen(PORT, () => {
  console.log(`Server is running on http://localhost:${PORT}`);
});
Now, open your terminal in the project folder and run these commands:
- Install the dependency:
npm install - Start the server:
node index.js
If you open your web browser and go to http://localhost:3000, you should see the message "Hello from my Node.js app!".
Great! Our app works locally. Now let's put it in a box.
Step 2: Understanding Docker Concepts
Before we write the instructions for our box, let's quickly learn three key Docker terms.
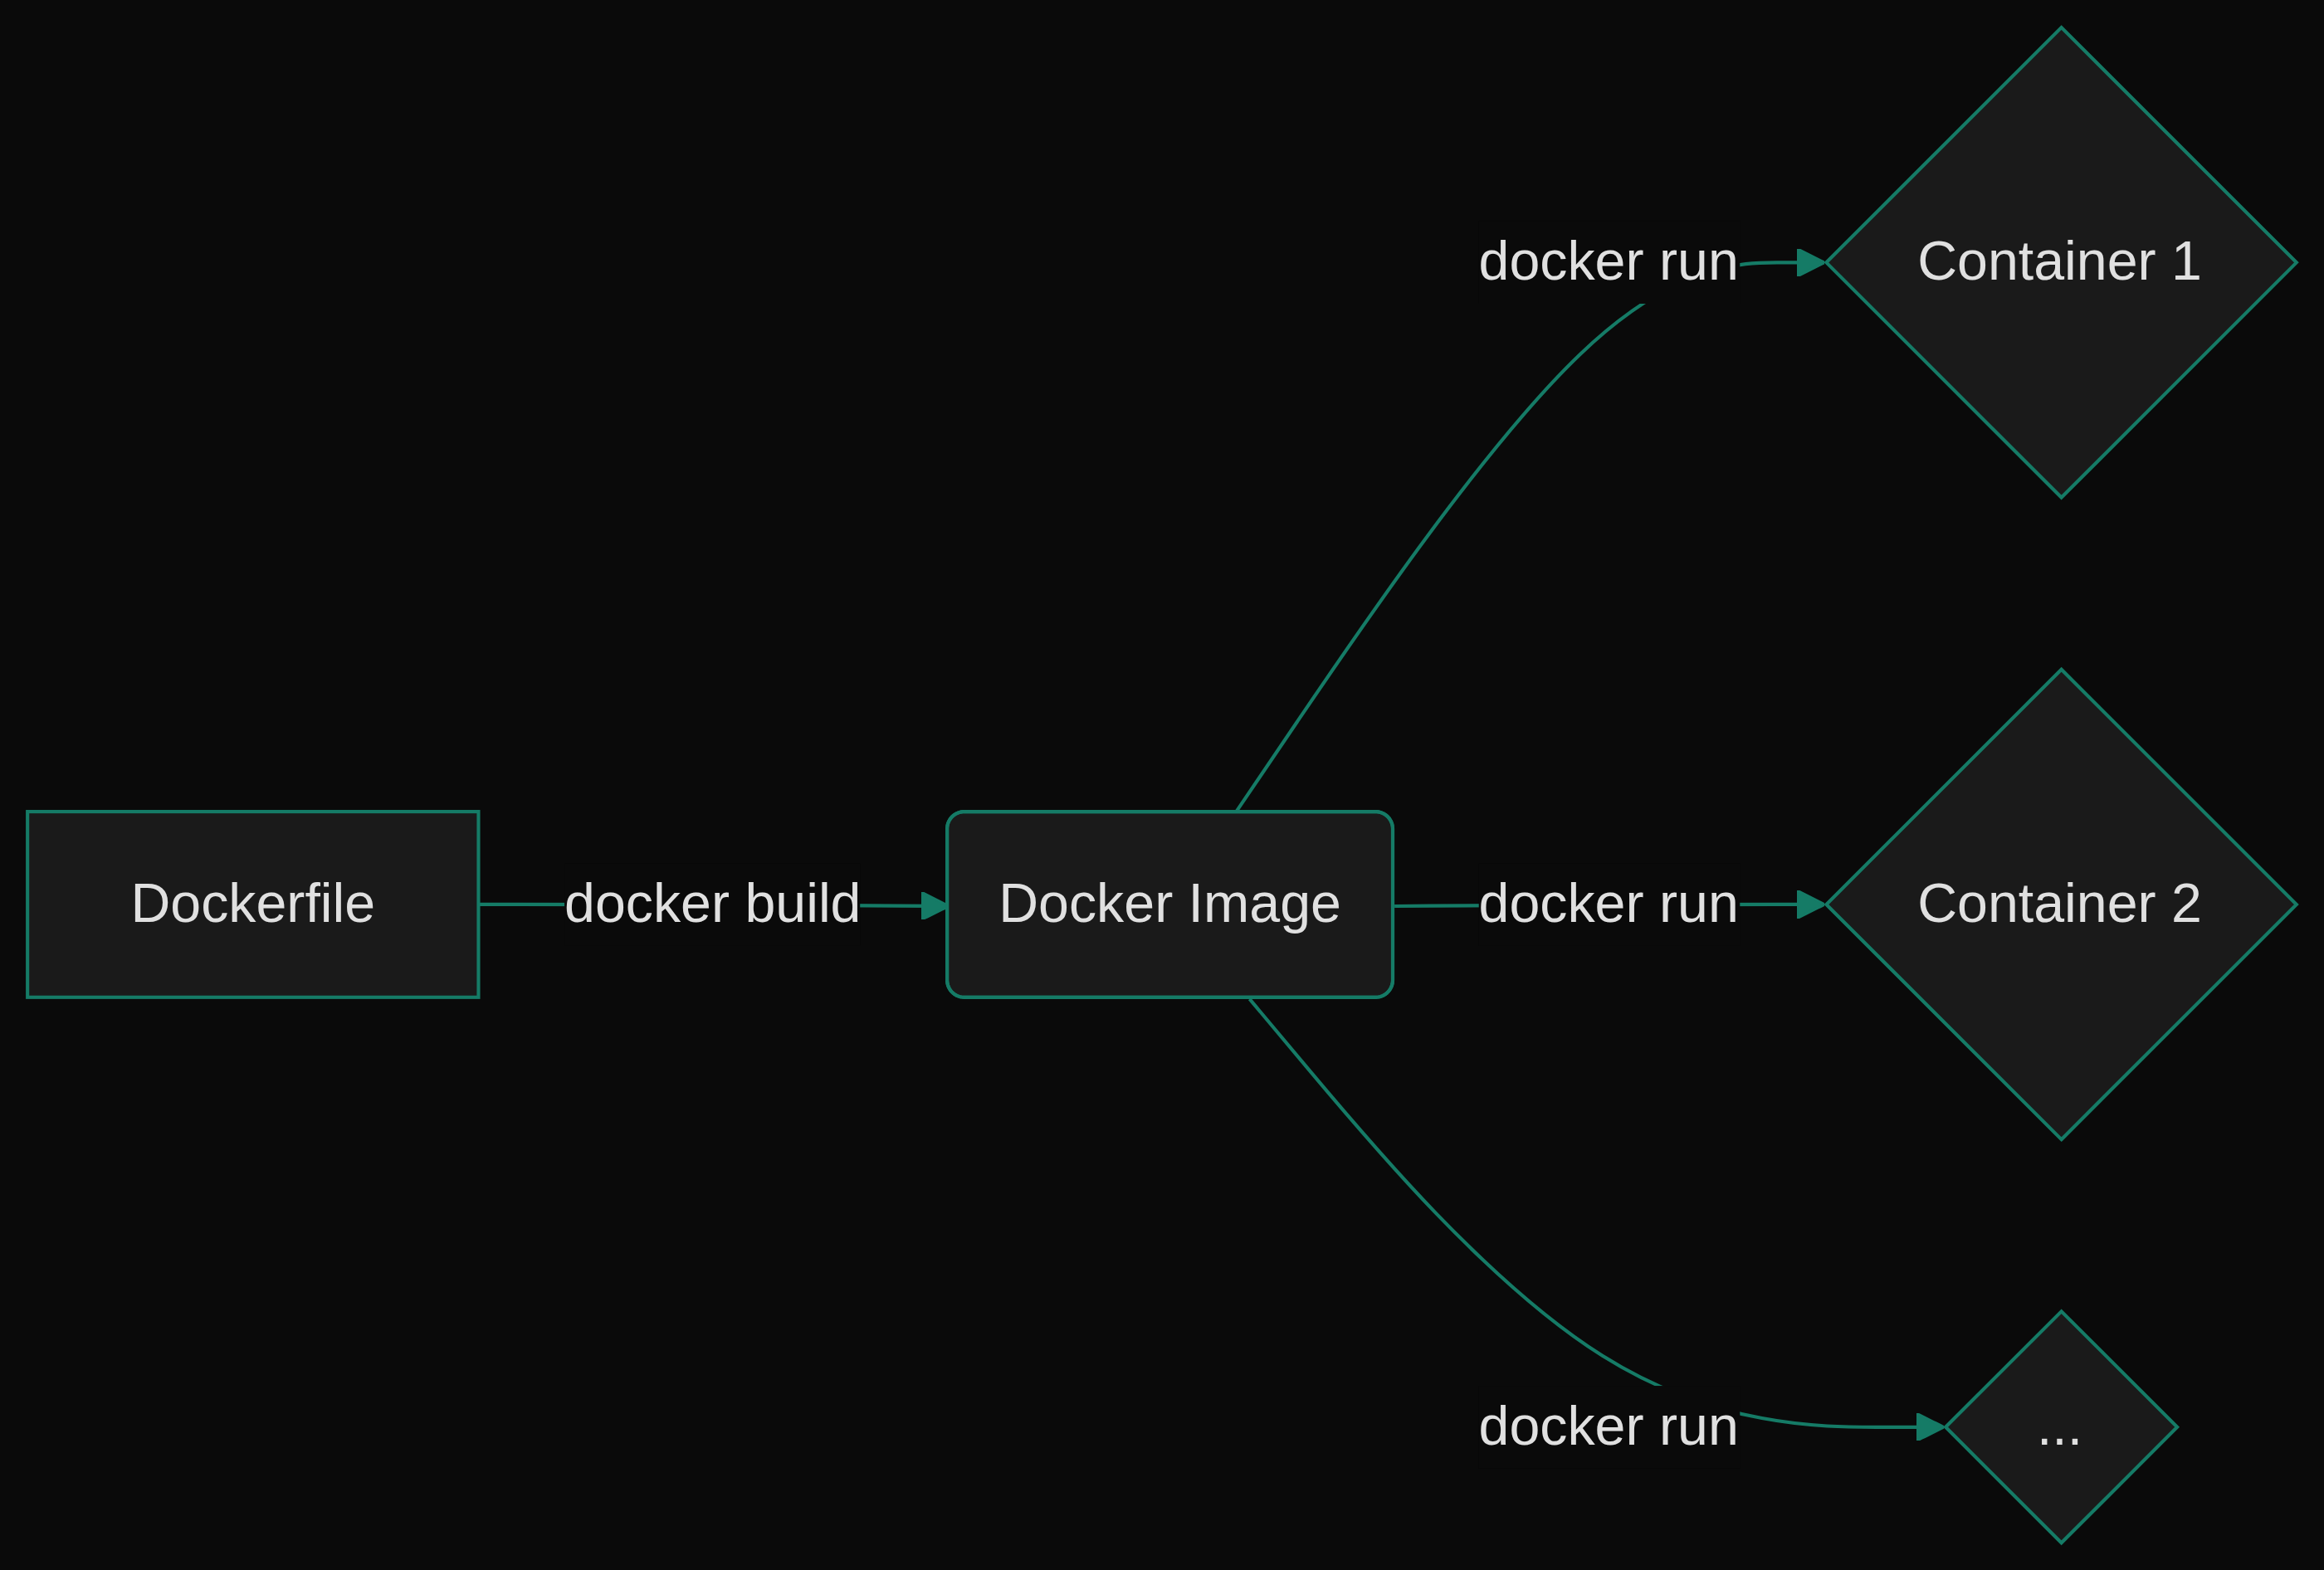
- Dockerfile: This is a simple text file with a list of instructions. It's like a recipe for building our box. We will write this file ourselves.
- Image: When you follow the recipe in the Dockerfile, you create an Image. An image is a blueprint. It's a saved, unchangeable package that contains our application and all its needs.
- Container: A container is a running instance of an image. If the image is the blueprint, the container is the actual house built from that blueprint. You can create many containers from a single image.
The flow is simple: you write a Dockerfile, use it to build an Image, and then run that Image as a Container.
Step 3: Writing Your First Dockerfile
In the same project folder, create a new file named Dockerfile (no extension, just that name).
This file will contain the step-by-step instructions for Docker.
# Start from an official Node.js image.
# The 'alpine' version is very small, which is great.
FROM node:18-alpine

# Create and set the working directory inside the container.
WORKDIR /app

# Copy package.json and package-lock.json first.
# This helps Docker use its cache smartly.
COPY package*.json ./

# Install the application dependencies inside the container.
RUN npm install

# Now, copy the rest of your application's source code.
COPY . .

# Tell Docker that the container listens on port 3000.
EXPOSE 3000

# The command to run when the container starts.
CMD ["node", "index.js"]
Let's break this down line by line:
FROM node:18-alpine: Every Docker image starts from a base image. Here, we start with an official image that already has Node.js version 18 installed on a minimal version of Linux called Alpine.WORKDIR /app: This sets the default location inside the container for all subsequent commands. It's like runningcd /app.COPY package*.json ./: We copy our package files into the/appdirectory. We do this before copying our code. This is a smart trick. Docker builds in layers. If our code changes butpackage.jsondoes not, Docker can reuse thenpm installlayer from a previous build, which saves a lot of time.RUN npm install: This runs the command to install our dependencies inside the container.COPY . .: Now we copy the rest of our files (likeindex.js) into the container.EXPOSE 3000: This is like a piece of documentation. It tells Docker that our application inside the container will be using port 3000. It doesn't actually open the port to the outside world.CMD ["node", "index.js"]: This is the final command that will be executed when the container starts. It runs our app.
Step 4: Build the Image and Run the Container
Now for the magic part. Go back to your terminal, make sure you are in your project directory, and run this command:
# The -t flag lets you 'tag' or name your image.
# The '.' at the end tells Docker to look for the Dockerfile in the current directory.
docker build -t my-node-app .
Docker will now execute the steps in your Dockerfile. You will see it downloading the base image and running your commands. Once it's finished, you have a Docker image named my-node-app.
Now, let's run it as a container:
docker run -p 4000:3000 my-node-app
Let's understand this command:
docker run: The command to start a container.-p 4000:3000: This is the port mapping. It connects port 4000 on your computer (the host) to port 3000 inside the container. Remember,EXPOSE 3000only documented the port. This-pflag actually opens it up.my-node-app: The name of the image we want to run.
Now, open your browser and go to http://localhost:4000. You will see the same message: "Hello from my Node.js app!".
The difference is that this time, the app is not running directly on your machine. It is running inside a completely isolated Docker container.
To stop the container, go to your terminal and press Ctrl + C.
A Quick Tip: The .dockerignore File
Just like .gitignore, you can create a .dockerignore file to tell Docker which files and folders to ignore when copying your code into the image. This keeps your image small and secure.
Create a file named .dockerignore and add this to it:
node_modules
npm-debug.log
Dockerfile
.dockerignore
We especially want to ignore node_modules because we run npm install inside the container to get a fresh copy.
Key Takeaways
Congratulations! You have just packaged your first application with Docker.
- Docker solves the "it works on my machine" problem by packaging your app and its environment into a single container.
- A
Dockerfileis a recipe for building a Docker Image. - A Container is a running instance of an Image.
- Structure your
Dockerfileto copypackage.jsonand runnpm installbefore you copy your source code. This makes your builds much faster. - Use the
docker buildcommand to create an image anddocker runto start a container from it. - The
-pflag is essential for connecting a port on your machine to a port inside the container, allowing you to access your app.
About the Author
Hi, I'm Qudrat Ullah, an Engineering Lead with 10+ years building scalable systems across fintech, media, and enterprise. I write about Node.js, cloud infrastructure, AI, and engineering leadership.
Find me online: LinkedIn · qudratullah.net
If you found this useful, share it with a fellow engineer or drop your thoughts in the comments.